Building Your Ultimate Gaming PC: A Comprehensive Guide
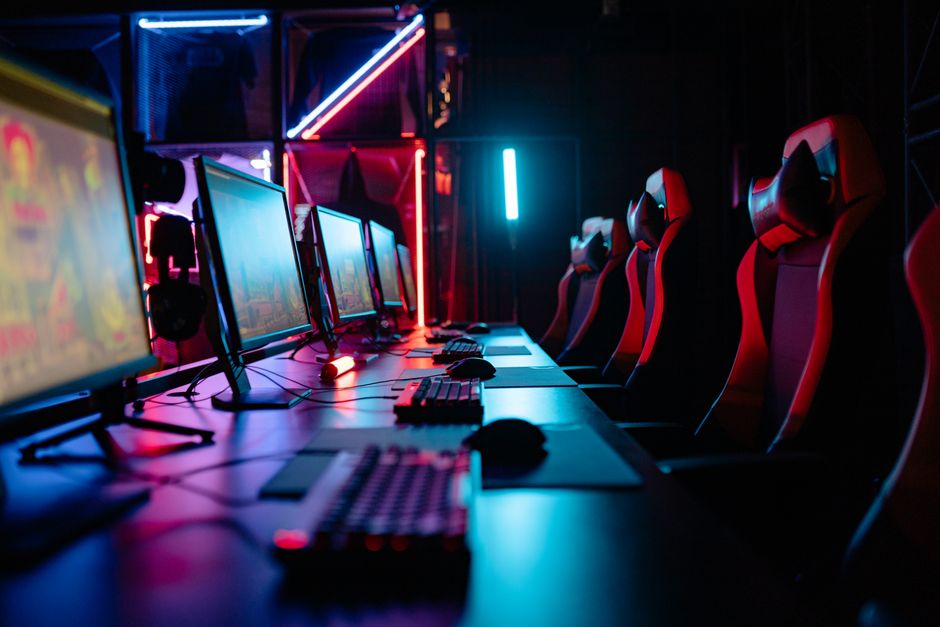
In the world of gaming, having the right hardware can significantly impact your overall experience. Whether you’re an avid gamer or a casual player, building your own gaming PC can be both an exciting and rewarding endeavor. This guide will walk you through the essential components, considerations, and steps needed to create a powerful gaming rig that meets your specific needs.
Understanding Your Needs
Before diving into the components, it’s crucial to understand what you need from your gaming PC. Are you looking to play the latest AAA titles at maximum settings? Or are you more interested in casual gaming? Identifying your gaming preferences will help you choose the right parts.
For instance, if you plan to play graphically demanding games like Cyberpunk 2077 or Assassin’s Creed Valhalla, investing in a high-end graphics card will be a priority. On the other hand, if your focus is on less demanding titles like Stardew Valley, you can save money by opting for mid-range components.
Choosing the Right Components
Once you have a clear understanding of your gaming needs, the next step is selecting the components for your build. A gaming PC typically consists of the following essential parts:
1. CPU (Central Processing Unit): The CPU is the brain of your PC. For gaming, a multi-core processor from Intel or AMD is recommended. Look for models like the Intel Core i5 or AMD Ryzen 5 for a balanced performance.
2. GPU (Graphics Processing Unit): The GPU is critical for rendering graphics. High-performance options include the NVIDIA GeForce RTX series or AMD’s Radeon RX series. These GPUs can handle modern games at high resolutions and frame rates.
3. RAM (Random Access Memory): For smooth gaming, a minimum of 16GB of RAM is advisable. It allows for better multitasking and improves game performance.
4. Storage: Consider a combination of SSD and HDD. An SSD will provide faster load times, while an HDD can store larger files at a lower cost. Aim for at least 512GB of SSD storage for your operating system and frequently played games.
5. Motherboard: Ensure compatibility with your CPU and other components. Look for features such as multiple USB ports, M.2 slots, and good audio capabilities.
6. Power Supply Unit (PSU): A reliable PSU is essential to power your components safely. Choose a unit with a wattage that exceeds your total component requirements.
Assembling Your Gaming PC
After selecting your components, it’s time to assemble your gaming PC. Follow these steps:
1. **Prepare your workspace**: Ensure you have a clean, static-free environment to work in.
2. **Install the CPU**: Carefully place the CPU on the motherboard, aligning it with the designated pins.
3. **Attach the CPU cooler**: Proper cooling is vital for performance. Follow the manufacturer’s instructions for installation.
4. **Insert RAM**: Place the RAM sticks in the appropriate slots on the motherboard.
5. **Mount the motherboard**: Secure the motherboard in the case, ensuring all ports align with the case openings.
6. **Install the GPU**: Insert the graphics card into the PCIe slot and secure it with screws.
7. **Connect storage and PSU**: Attach your SSD and HDD, then connect all power cables from the PSU to the motherboard and components.
8. **Finalize build**: Double-check all connections and close the case.
Installing Operating System and Drivers
With your PC assembled, the next step is to install an operating system. Windows is the most popular choice among gamers, but Linux is also an option for those who prefer open-source software.
After installing the OS, don’t forget to update your drivers, especially for the GPU. This ensures optimal performance and compatibility with the latest games. You can find the latest drivers on the manufacturer’s website.
Tuning Your Gaming Experience
Once everything is up and running, it’s time to optimize your gaming experience. Here are a few tips:
1. **Adjust in-game settings**: Tailor the graphics settings of each game to balance performance and visuals.
2. **Monitor temperatures**: Use software to keep an eye on your CPU and GPU temperatures to avoid overheating.
3. **Consider overclocking**: If you’re comfortable, overclocking your CPU and GPU can yield better performance, but it requires good cooling solutions.
For those who want a guided approach, utilizing a gaming PC builder tool can simplify the process, allowing you to visualize compatibility and pricing as you select components.
Conclusion
Building your own gaming PC not only provides a sense of accomplishment but also allows for a tailored experience that meets your gaming needs. By understanding your requirements, choosing the right components, and following proper assembly techniques, you can create a powerful machine that enhances your gaming adventures. Remember, the gaming landscape is always evolving, so staying updated with the latest hardware trends will keep your build relevant for years to come.